ALTENEW INSPIRED POST…
October 24, 2015
I really love stamps from Altenew. And now I have some dies as well as some of their ink pads. I bought the Sohcahtoa stamp set awhile ago on a whim. I wasn’t sure what I would do with it, and it sat on my table for awhile. Once I started using it, though, I have come to realize what a great set it is. Very versatile for all kinds of cards. Here are a few examples I made just recently. Thanks for stopping by. I have another set of cards I made with a different Altenew stamp set that I’ll try to post soon. Love that company.


ONLINE CARD CLASSES STRETCH YOUR DIES…
March 27, 2015
Last card inspired by the Online Card Classes Stretch Your Dies. I also stamped the patterned paper – inspired by the Monday challenge at Papertrey Ink. Thanks for stopping by!

ONLINE CARD CLASSES WORD DIES…
March 27, 2015
Here’s another card inspired by the Online Card Classes Stretch your Dies. Thanks for stopping by.

ONLINE CARD CLASSES STRETCH YOUR DIES…
March 23, 2015
A card using coordinating dies. I’ve had this set for a long time.

ONLINE CARDS CLASSES STRETCH YOUR DIES…
March 23, 2015
Another card inspired by the Stretch your Dies class. Another use of a border die.

ONLINE CARD CLASSES: STRETCH YOUR DIES
March 23, 2015
Using border dies – both to create the border on the card and as a stencil to make the clouds.

ONLINE CARD CLASSES: STRETCH YOUR DIES
March 23, 2015
Using the “negative” part of your die cut to make a card. Really into Spring colors right now.

TAKING STRETCH YOUR DIES ONLINE CARDS CLASSES…
March 23, 2015
My attempt from Day 1 – word dies. Thanks for stopping by.

Just some things I made recently….
September 16, 2014
I’ve been stamping and card making throughout the summer. Here are just a few of the things I made. Thanks for stopping by.


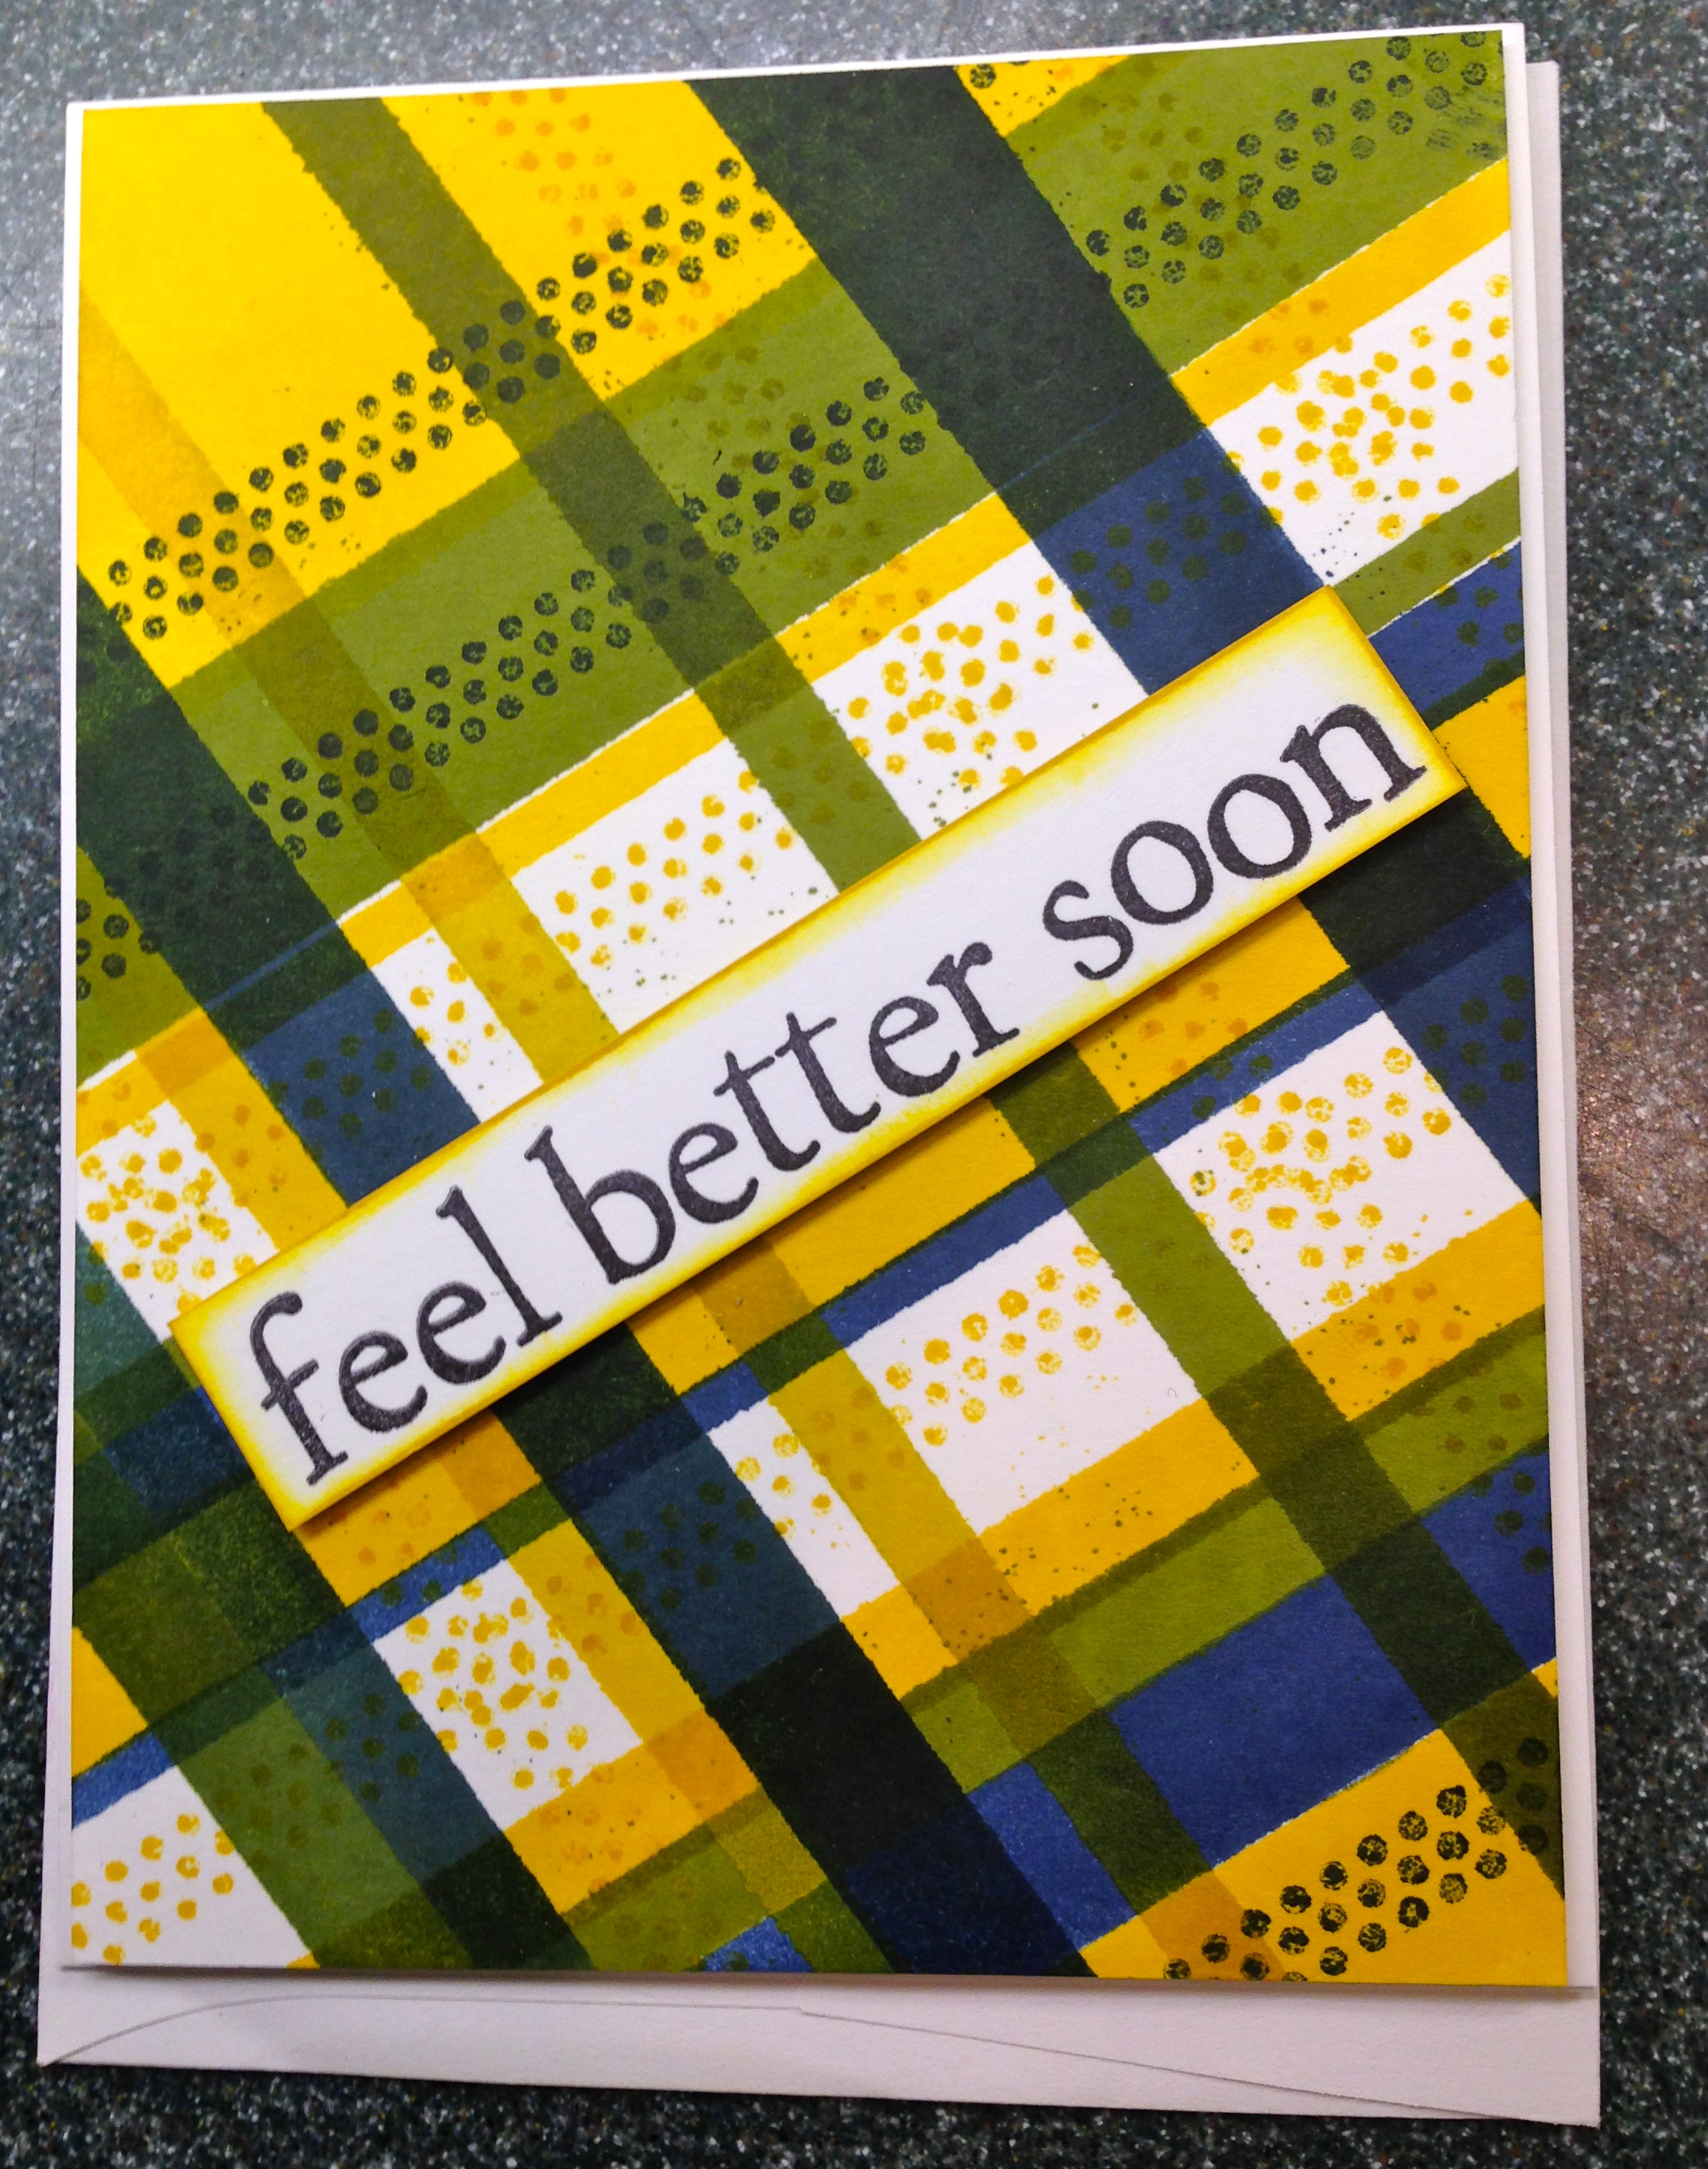


Gelli Plate Class…
June 29, 2014
A friend of mine who used to own the Stampology store here in Chicago had a class last week where he demoed the new 3 x 5 Gelli Plate. I have a bigger Gelli Plate but hadn’t really used it much, so I wanted to see what Dave had to show us on the smaller Gelli Plate. It was great fun. I had to take Dave’s advice and keep adding layers. Sometimes the first layer or two don’t look very good. But, just keep going. Sometimes the back side of the paper looks better than the front! As part of the class, we got a Gelli Plate and card makings for three different sizes of cards. I made several gelli prints while I was there, and brought all the card fixing home to finish them off. Here are the ones I have done. The gelli print is the background on the focal point on each card. I used ink, paint, stencils, and other things to make marks in the paint to create the backgrounds. Then I stamped on top of the background – usually in black ink. (There are 12 pictures here. Sorry for the long post.) Thanks for stopping by.
)


